by Amanda Rose Newton
Despite the beautiful weather, Florida is not always so forgiving with gardens. Yards come in all shapes and sizes with just as many variations in shade and moisture. Live by the beach? That means you must take salt into account too.

While gardening in Florida can be a challenge, it is also extremely rewarding. When most of the country is wishing for a touch of greenery, we are blessed with lush foliage and tropical colors year-round– not to mention fresh fruits and vegetables which is a far dream for most in late fall.
To help make this your year to conquer the landscape, we are devoting August to strategies to get the most out of your garden during the best time to be outdoors enjoying it.
This week, we will be covering how to ensure success for all those plants you just bought and now must plant!
What If You Bought A Plant You Can’t Plant?
In a perfect world, we would plant everything the second it arrives at its new home. In the real world, we have jobs, kids to take care of, and limited hours to do it all.
It’s completely unreasonable to assume that plant your impulse bought last night at 6 pm is getting planted that same evening. For those occasions, you can relax.
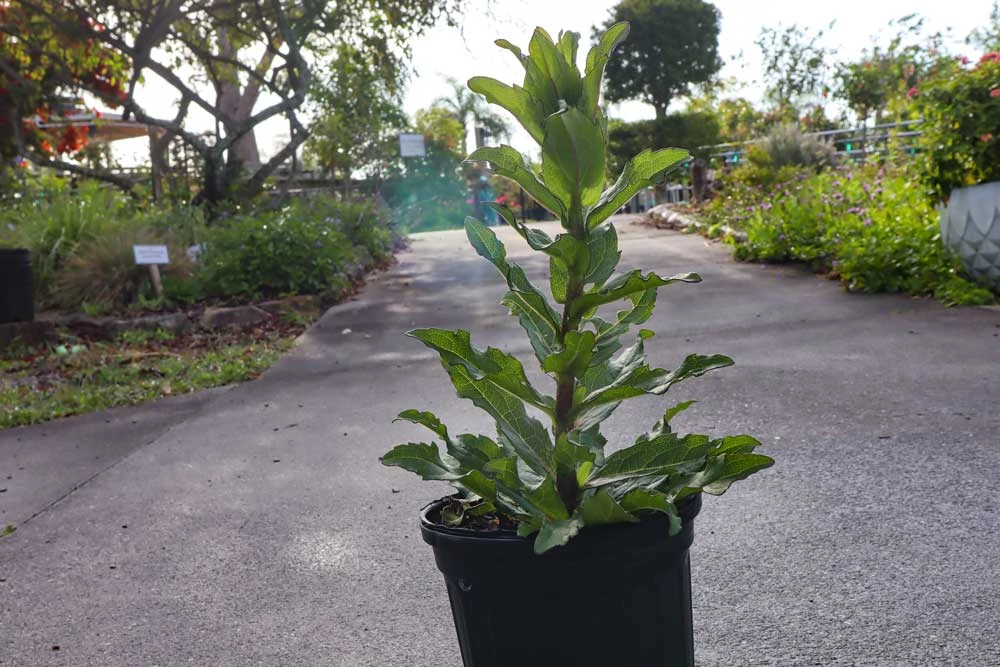
Generally, plants are fine in the pot they came in for a few days. You might need to water them more than your other plants, especially if they are in black nursery pots to ensure the roots do not dry out.

When you have a free moment to plant, follow the steps below for growing success.
Steps to Planting Success
1) Dig a Hole
While this seems so simple, this can get overly complicated really quickly!
As a rule, the hole should be wider but not deeper than the plant’s root ball. “Root ball” refers to the exposed roots once you remove your plant from its pot. Make sure the bottom of the hole is flat, so your plant can sit up straight without much assistance. This also ensures no air pockets between the ground and your new plant exist.
Pro Tip: use the bottom of the pot your plant came in to flatten the bottom of the hole.
2) Check Those Roots!
When you have the plant out of the pot, give the roots a good look over. Are they encircling more than one-third of the root ball? If so, grab a pair of pruners and give them a little haircut. Not only does this get rid of tangles, but it also promotes healthy growth.
3) Back It Up!
Backfilling is as fun to say as it is to do. Basically, you are adding soil back around your plant to give it support and nutrients to the root system.
What you use here is important, especially depending on what the soil quality is like near you. You can create an ideal environment by going 50/50– use half the soil from your own yard and half nutrient-rich soil from a known source, like our Rockledge Gardens Planting mix.
This ensures you are preserving the good microflora present in your own yard while adding in additional minerals from the bagged stuff.
If you are putting your new plant in a pot instead of the ground, use nutrient-rich potting soil like those offered by Foxfarm.
Make sure your plant is sitting at about the same height it was when it was in its pot as that is what it is used to. As tempting as it may be, it’s never a good idea to “volcano” the soil around a tree or shrub!
4) Berm it!
Berms are important ways to improve water availability to larger new trees, as they need a bit of extra care in their early days. To create a berm, form a small ridge of soil about 3 inches high around the edges of the tree to serve as its own little reservoir. If you plan on going out every day with a hose watering wand attachment, a berm is not needed.
5) Water it in!
The initial watering-in phase should soak the roots and fill the tree berm (if used). Continue this practice once a day, every day for the first two weeks.
Watering Should Come with a Disclaimer!
85% of plants fail due to watering issues, with overwatering being the most common offender.
Water should be applied for the first two months by hand to ensure that deep absorption into the soil is occurring. Once you have that visual down, your confidence as a gardener goes through the roof!
Pro Tip: Roots do not just hang directly below the plant, remember that they spread out! Make sure your watering reflects that, and it’s not concentrated at the base.
Use a hose to water around your plant to completely soak the root ball. For small plants (1-gallon size container or smaller) 6 seconds of watering is all you need.
Medium-sized 3-gallon-sized plants need roughly 20 seconds of watering, while something like a large 30-gallon tree needs a full minute! It really isn’t that long or much, which is why overwatering is so easy to do.
Now that we have how to water down, the next challenge is sticking to the schedule. Yes, just like small children, plants function best with structure in their lives! Your brand-new plant needs to be watered daily for the first two weeks. You can then slack off a bit, watering every other day for the two weeks after that.

In the fifth and sixth weeks, you can adjust to the comfortable twice-weekly watering responsibility and after that, you can let the rain take over. Keep in mind this schedule is for days it is NOT raining!
There are always exceptions to the rule, and this is certainly the case where watering is concerned.
Since everyone’s yard is unique, areas that have poor drainage will likely need less water and some plants like succulents won’t need much attention at all.
If you are planting during the cool season, plants will not need as much water either. Plants naturally slow down with the Winter Solstice and are not performing up to speed where photosynthesis is concerned, so the needs for water and nutrients reduce.
For those of you who are houseplant enthusiasts, this happens naturally indoors as well and is why you notice more leaf drop and less growth during the winter months.
What About Established Plants?
Once you are clear of the initial 6-week establishment period, most plants are happy with water twice a week unless it rains. If you water more than that, you risk dangers to plant health, especially fungal diseases which thrive in humid, moist environments.
If you live on Merritt or the Barrier Island, your soil may be sandier which means an additional few minutes of watering might be a good idea.
When temperatures soar above 90 degrees, you still only want to water twice a week but you can lengthen the time of each watering. In general, set sprinklers for 45 minutes for the mainland, and 60 minutes for the Barrier during those hot months. During the winter, drop that to 15 minutes (20 for barrier islands) every other week.
Did you know that Brevard County has watering restrictions? Odd numbered addresses can legally water on Wednesdays and Saturdays and even-numbered addresses are free to do so on Thursday and Sunday during daylight saving hours. The rest of the year, it’s Saturdays for odd and Sundays only for even and never between the hours of 10 am and 4 pm.

If you use mulch around your plantings, be aware that it holds more moisture than regular soil. Those plants likely will not need as much water. Keep in mind that while smaller plants might only need a few months to establish, it’s not unusual for large trees to need 3 years to establish. Consistency is watering, and in life, is key.
More of a visual learner? Check out Brian’s Video on Proper Planting!


