By Amanda Rose Newton
In much of the country, fall gardening brings to mind cool mornings, sweaters, and pumpkins. In Florida, starting a fall vegetable garden looks a little different: 90-degree afternoons, thunderstorms, blazing sun, and a tray of tiny broccoli seedlings wondering what they did to deserve this.
Late summer and early fall are important times for getting many of our cool-season vegetables started. Unfortunately, they can also be challenging times to raise seedlings.
Seeds may germinate beautifully only to produce weak, stretched plants. A tray on the screen porch can look perfect in the morning and be wilted by late afternoon. Moving a healthy indoor seedling directly into the Florida sun can end badly within hours.
The good news? Most seed-starting failures come down to a handful of common problems.
Whether you’re starting seeds inside, on the screen porch, or somewhere else protected from the elements, here’s how to get your fall vegetables from seed → seedling → garden.
Step 1: SEED
Start With the Right Vegetable at the Right Time
Florida’s vegetable-growing calendar can feel almost backwards to gardeners accustomed to northern climates. Many vegetables that struggle through our summers become excellent fall and winter crops.
Depending on where you live and when you plan to transplant, late summer and early fall are good times to start thinking about crops such as:
- Broccoli
- Cabbage
- Cauliflower
- Collards
- Kale
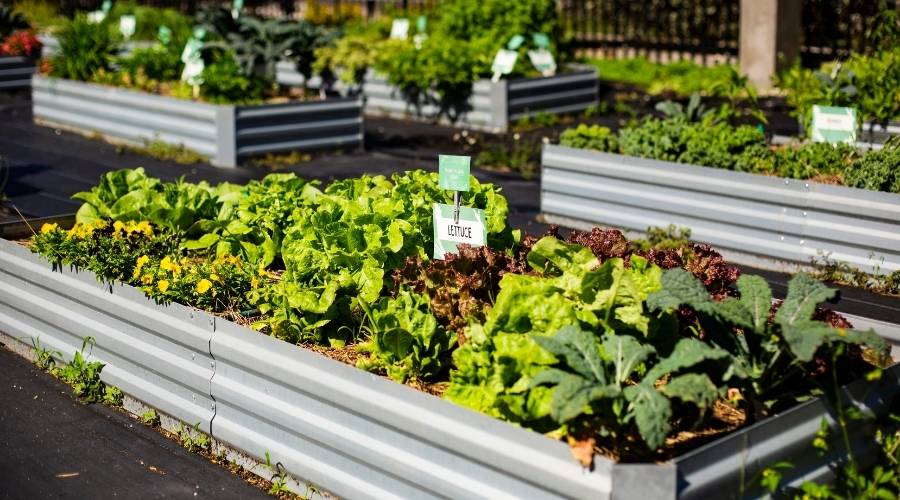
- Lettuce
- Swiss chard
- Tomatoes
- Peppers
- Eggplant
- Herbs
Not everything needs to be started in a seed tray. Some vegetables generally perform better when direct-seeded into the garden, including:
- Beans
- Peas
- Carrots
- Radishes
- Many other root crops
Most importantly, remember that Florida is not one planting zone. Planting dates in Miami can be very different from planting dates in Tallahassee. Even Central and South Florida can have noticeably different planting windows.
Use a Florida-specific planting calendar for your location rather than relying entirely on dates printed on a generic seed packet.
Use Seed-Starting Mix, Not Garden Soil
It seems logical to start seeds in the same soil they’ll eventually grow in, but soil dug from the yard usually doesn’t work well in seed trays.
Garden soil may:
- Compact in small containers
- Drain poorly
- Reduce air around developing roots
- Contain weed seeds
- Harbor organisms that can cause seedling disease
Instead, choose a lightweight seed-starting mix.
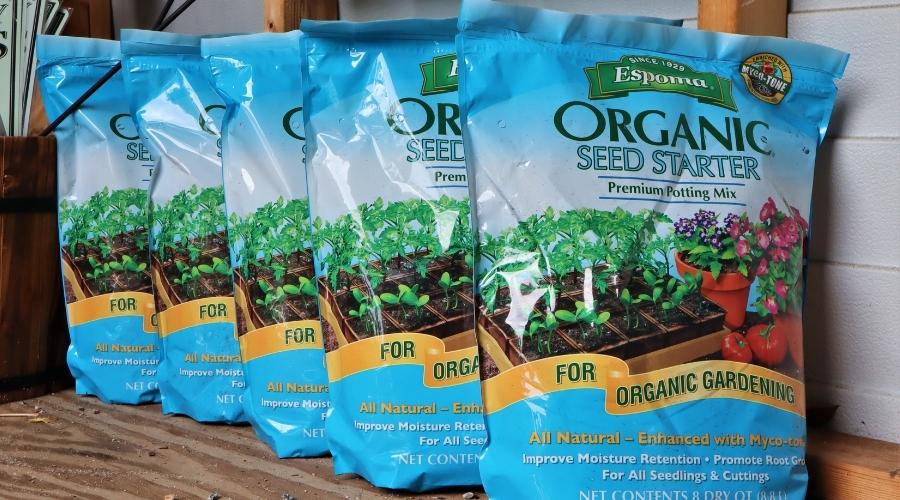
Moisten the mix before planting. You’re looking for the consistency of a wrung-out sponge: moist, but not dripping wet.
Pay Attention to Planting Depth
Seeds contain a limited amount of stored energy. If you bury a tiny seed too deeply, the emerging seedling may use those reserves before it ever reaches the surface.
Follow the planting depth listed on the seed packet.
As a general rule:
- Larger seeds can usually be planted deeper.
- Small seeds should be planted very shallowly.
- Some very small seeds need little more than contact with the growing medium.
More soil on top does not mean more protection!
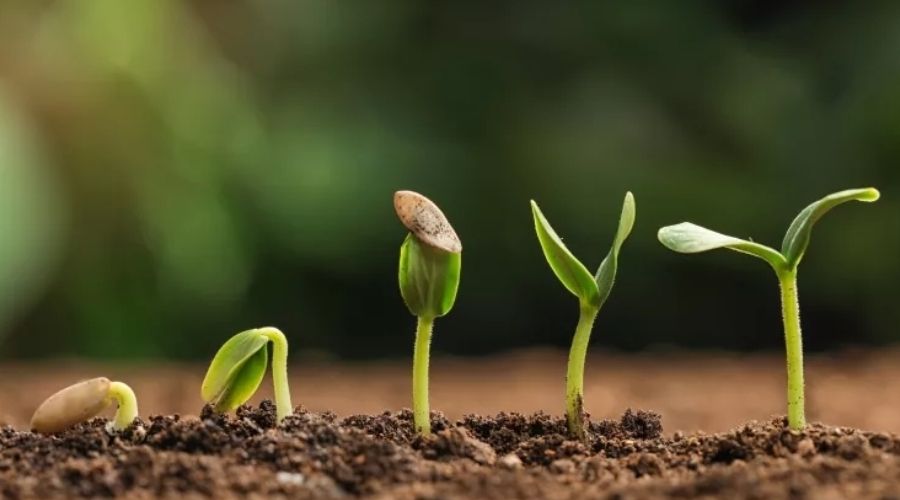
Step 2: SEEDLING
Germination is exciting, but don’t celebrate quite yet.
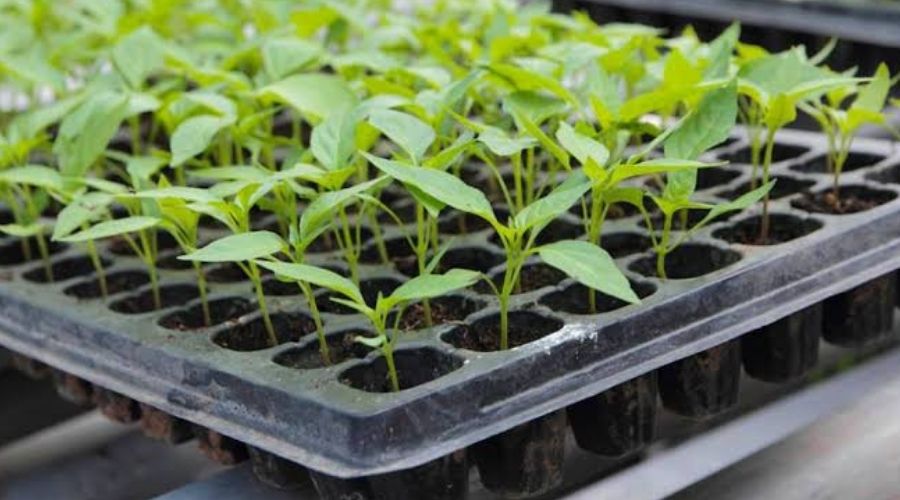
The goal isn’t simply to germinate seeds. The goal is to produce sturdy transplants.
As soon as seedlings emerge, their needs begin to change.
Inside or on the Screen Porch?
Both can work well in Florida, but each comes with different challenges.
Starting indoors:
- Light is usually the biggest limitation.
- A sunny window may still not provide enough light for vegetable seedlings.
- Long, thin seedlings leaning toward the window usually need more light.
- A basic grow light can make a big difference.
- Gentle air movement from a fan can help strengthen stems and reduce stagnant conditions around seedlings.
Starting on a screen porch:
- Look for bright light with protection from intense afternoon sun.
- Check trays frequently. Small cells can dry surprisingly quickly in Florida heat.
- Watch the temperature. Seedling trays sitting in direct sun can become much hotter than the surrounding air.
- Don’t assume the screen excludes every pest. Aphids, thrips, whiteflies, mites, and other small pests may still find your plants.
- Check both the tops and undersides of leaves regularly.
A screen porch can be an excellent Florida seed-starting location, but bright and protected is usually better for young seedlings than the hottest, sunniest spot available.
Don’t Love Them to Death With Water
Tiny seedlings look fragile, so it’s tempting to water them constantly.
Unfortunately, constantly wet does not mean well cared for.
Seedlings need moisture, but roots also need oxygen. Saturated growing media can contribute to poor root growth and seedling diseases.
One of the most frustrating problems is damping-off, in which a seemingly healthy young seedling suddenly collapses near the soil line.
Help reduce problems by:
- Using clean containers
- Starting with fresh seed-starting mix
- Providing adequate airflow
- Making sure containers drain properly
- Avoiding constantly saturated growing media
Check your seedlings frequently, especially if they’re outside, but water according to the growing medium rather than automatically watering on a schedule.
Thin Those Seedlings
You planted three seeds and all three germinated. Success!
Unfortunately, keeping all three crammed into one tiny cell isn’t necessarily a victory.
Crowded seedlings compete for:
- Light
- Water
- Nutrients
- Root space
Keep the strongest seedling and thin the others when appropriate.
In small cells, it can be safer to snip unwanted seedlings at the soil line rather than pulling them out and potentially disturbing the roots of the seedling you’re keeping.
Know Your Seed Leaves From Your True Leaves
The first leaves you see after germination may not look much like the vegetable you’re growing.
Those first structures are the cotyledons, commonly called seed leaves. They help support the plant during its earliest growth.
The leaves that emerge afterward are the true leaves, and these begin to resemble the foliage of the mature plant.
True leaves are also a useful sign that your seedling is moving beyond its earliest stage of development.
Go Easy on the Fertilizer
Seeds contain stored resources to support their initial development, so newly germinated seedlings don’t need heavy fertilization.
Once seedlings develop true leaves and begin actively growing, they may benefit from appropriate nutrition, particularly if they’re growing in a seed-starting mix with little added fertility.
But remember:
More fertilizer does not mean faster, stronger seedlings.
Too much can damage young roots or encourage weak, overly lush growth. Follow the product label and remember that tiny plants have tiny needs.
Pot Up When Necessary
Sometimes seedlings are ready to leave their original cells before your garden is ready to receive them.
If roots are filling the container but outdoor conditions aren’t suitable for transplanting yet, move the seedling into a somewhat larger container.
You don’t need to jump from a tiny seed cell to an enormous pot. Gradually increasing container size makes it easier to manage moisture while providing roots with additional space.
What Is Your Seedling Trying to Tell You?
Seedlings are pretty good at letting us know when something isn’t right. The trick is learning how to read the signs.
Long, skinny seedlings
They’re probably not getting enough light. Move them to a brighter location or adjust your grow light so it is closer to the plants.
Seedlings leaning strongly in one direction
They’re reaching for light. Rotate the tray regularly or provide more even overhead lighting.
Seedlings collapsing at the soil line
Damping-off may be the culprit. Excess moisture, poor airflow, contaminated containers, and overly wet growing media can all contribute. Remove affected seedlings and reassess your watering and airflow.
Crispy or bleached leaves after moving outside
They probably received too much sun too quickly. Move them back to a protected location and introduce stronger sunlight gradually.
Seedlings that wilt constantly on the porch
Check the growing medium. Tiny seedling cells can dry incredibly quickly in Florida heat. They may need more frequent monitoring or may be ready for larger containers.
Yellow seedlings sitting in wet growing mix
More water probably isn’t the answer. Check drainage and allow the growing medium to lose some moisture between waterings.
Several weak seedlings crowded into one cell
It’s time to thin. Choose the strongest seedling and give it room to develop without competing for light, nutrients, water, and root space.
Roots circling the container or coming through the drainage holes
Your seedling may be ready to move up. If it isn’t time to plant in the garden yet, transplant it into a slightly larger container.
Sticky, curled, stippled, or distorted leaves
Look closely for unwanted visitors. Check stems, new growth, and the undersides of leaves for aphids, thrips, whiteflies, mites, and other small pests.
The important thing is not to assume that an unhappy seedling means you’re bad at starting seeds. Look at the symptoms, consider the growing conditions, and make one adjustment at a time.
Seed-starting gets much easier when you start treating the plant as evidence.
Step 3: GROUND
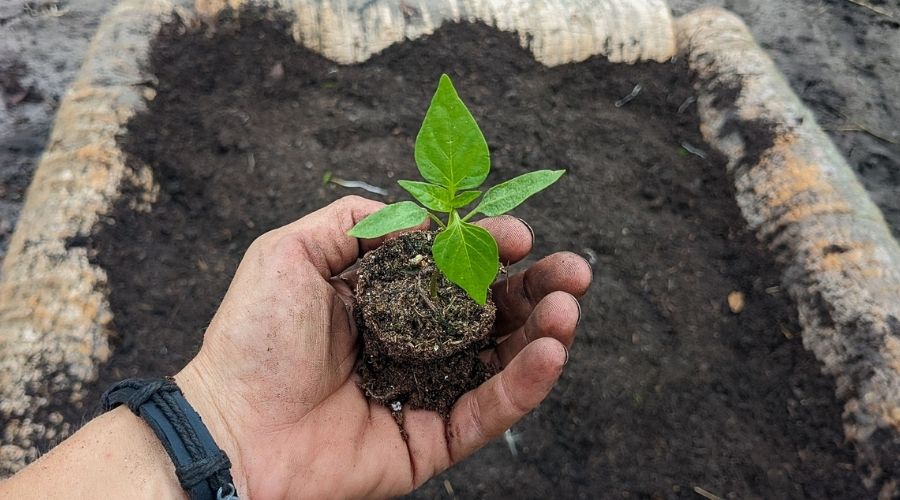
You’ve successfully raised a beautiful tray of seedlings. Surely you can just plant them in the garden now?
Not quite.
Harden Them Off First
A seedling raised indoors or in protected conditions isn’t immediately prepared for life in a Florida vegetable garden.
Outside it suddenly encounters:
- Much stronger sunlight
- Wind
- Greater temperature fluctuations
- Faster water loss
- Rain
- A much less controlled environment
This is why seedlings should be hardened off before transplanting.
Over roughly a week, gradually expose them to outdoor conditions. Start with a protected location and relatively short exposure. Gradually increase the amount of time outdoors and the amount of light they receive.
Even plants raised on a screened porch may need some acclimation if their final garden location receives considerably more direct sunlight.
Choose Transplanting Day Carefully
If given the choice between transplanting at noon on a blazing Florida afternoon and transplanting later on a cloudy day, choose the cloudy day!
To reduce transplant stress:
- Water seedlings before transplanting.
- Prepare the planting area beforehand.
- Avoid leaving roots exposed while you work.
- Plant at the appropriate depth.
- Gently firm the soil around the root ball.
- Water thoroughly after planting.
- Monitor soil moisture closely during the first several days.
- Consider temporary protection from intense sun for particularly tender transplants.
A new transplant has a relatively small root system supporting an entire plant. Give those roots a chance to establish before expecting the plant to handle Florida’s extremes.
Common Florida Seed-Starting Mistakes
Starting too early.
Just because broccoli is a fall vegetable doesn’t mean it wants to be transplanted into scorching summer soil. Pay attention to both the calendar and actual weather conditions.
Overwatering.
Aim for consistent moisture, not constantly saturated growing media.
Underestimating the sun.
A seedling grown indoors or on a shaded porch isn’t automatically prepared for hours of direct Florida sunlight.
Underestimating how quickly trays dry.
A tiny seedling cell holds very little growing medium. On a hot porch, moisture can disappear surprisingly quickly.
Leaving trays sitting in water.
Florida already provides plenty of humidity. Seedling roots still need oxygen and drainage.
Skipping hardening off.
Even a beautiful, healthy seedling can struggle if moved abruptly from protected conditions into full sun, wind, and heat.
Starting too many seedlings in one tiny space.
More seedlings aren’t necessarily better seedlings. Give the strongest plants room to develop.
Following a northern planting calendar.
Advice written for gardeners in Ohio or New York may be perfectly good advice for Ohio or New York. That doesn’t make September the right planting time for the same vegetable in Florida.
Seed → Seedling → Garden
Starting vegetables from seed requires a little more attention than buying established transplants, but it also opens up a much larger selection of varieties and gives you control over the plant from its very beginning.
For the best chance of success:
SEED
- Choose crops appropriate for the season.
- Check planting dates for your part of Florida.
- Use a quality seed-starting mix.
- Plant at the correct depth.
- Keep the growing medium consistently moist.
SEEDLING
- Provide plenty of light.
- Protect young plants from extreme heat and sun.
- Thin crowded seedlings.
- Watch for pests and disease.
- Avoid overwatering.
- Fertilize appropriately once plants are actively growing.
- Pot up when seedlings need more root space.
GROUND
- Harden seedlings off gradually.
- Transplant during favorable weather when possible.
- Water thoroughly.
- Protect tender plants from extreme conditions.
- Monitor them closely while roots become established.
And if your first tray doesn’t turn out perfectly, don’t give up. Not every seed germinates, not every seedling survives, and even experienced gardeners occasionally lose an entire tray.
Florida’s fall vegetable season is worth another try.
After all, when gardeners in much of the country are putting their gardens to bed for winter, ours are just getting interesting.
A seed already contains what it needs to begin becoming a plant. Your job is to give it the right conditions and, perhaps most importantly, try not to love it to death.